# Train and Deploy Your Own AI Model Into Grove - Vision AI
## Overview
In this wiki, we will teach you how to train your own AI model for your specific application and then deploy it easily to the Grove - Vision AI Module. Let's get started!
## Hardware introduction
We will mainly use the Grove - Vision AI Module throughout this wiki. So first, let's become familiar with the hardware.
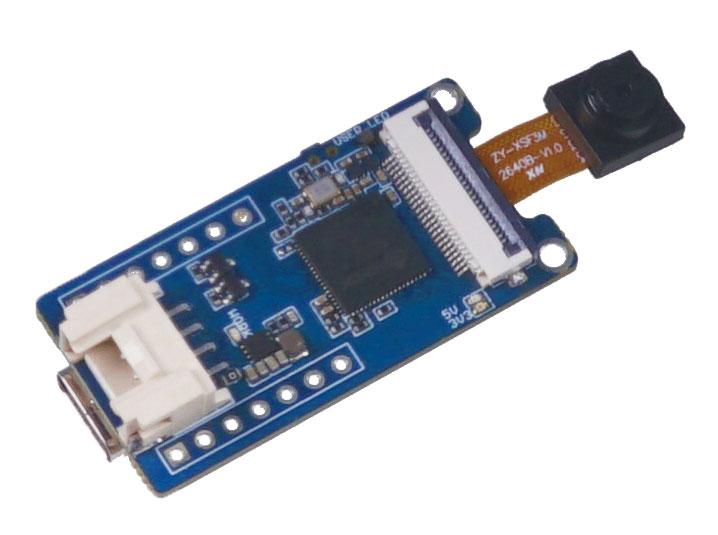
### Grove - Vision AI Module
[Grove Vision AI Module](https://www.seeedstudio.com/Grove-Vision-AI-Module-p-5457.html) represents a thumb-sized AI camera, customized sensor which has been already installed ML algorithm for people detection, and other customized models. Being easily deployed and displayed within minutes, it works under ultra-low power model, and provides two ways of singal transmission and multiple onboard modules, all of which make it perfect for getting started with AI-powered camera.
## Software introduction
We will be using the following software technologies in this wiki
- Roboflow - for annotating
- YOLOv5 - for training
- TensorFlow Lite - for inferencing
### What is Roboflow?
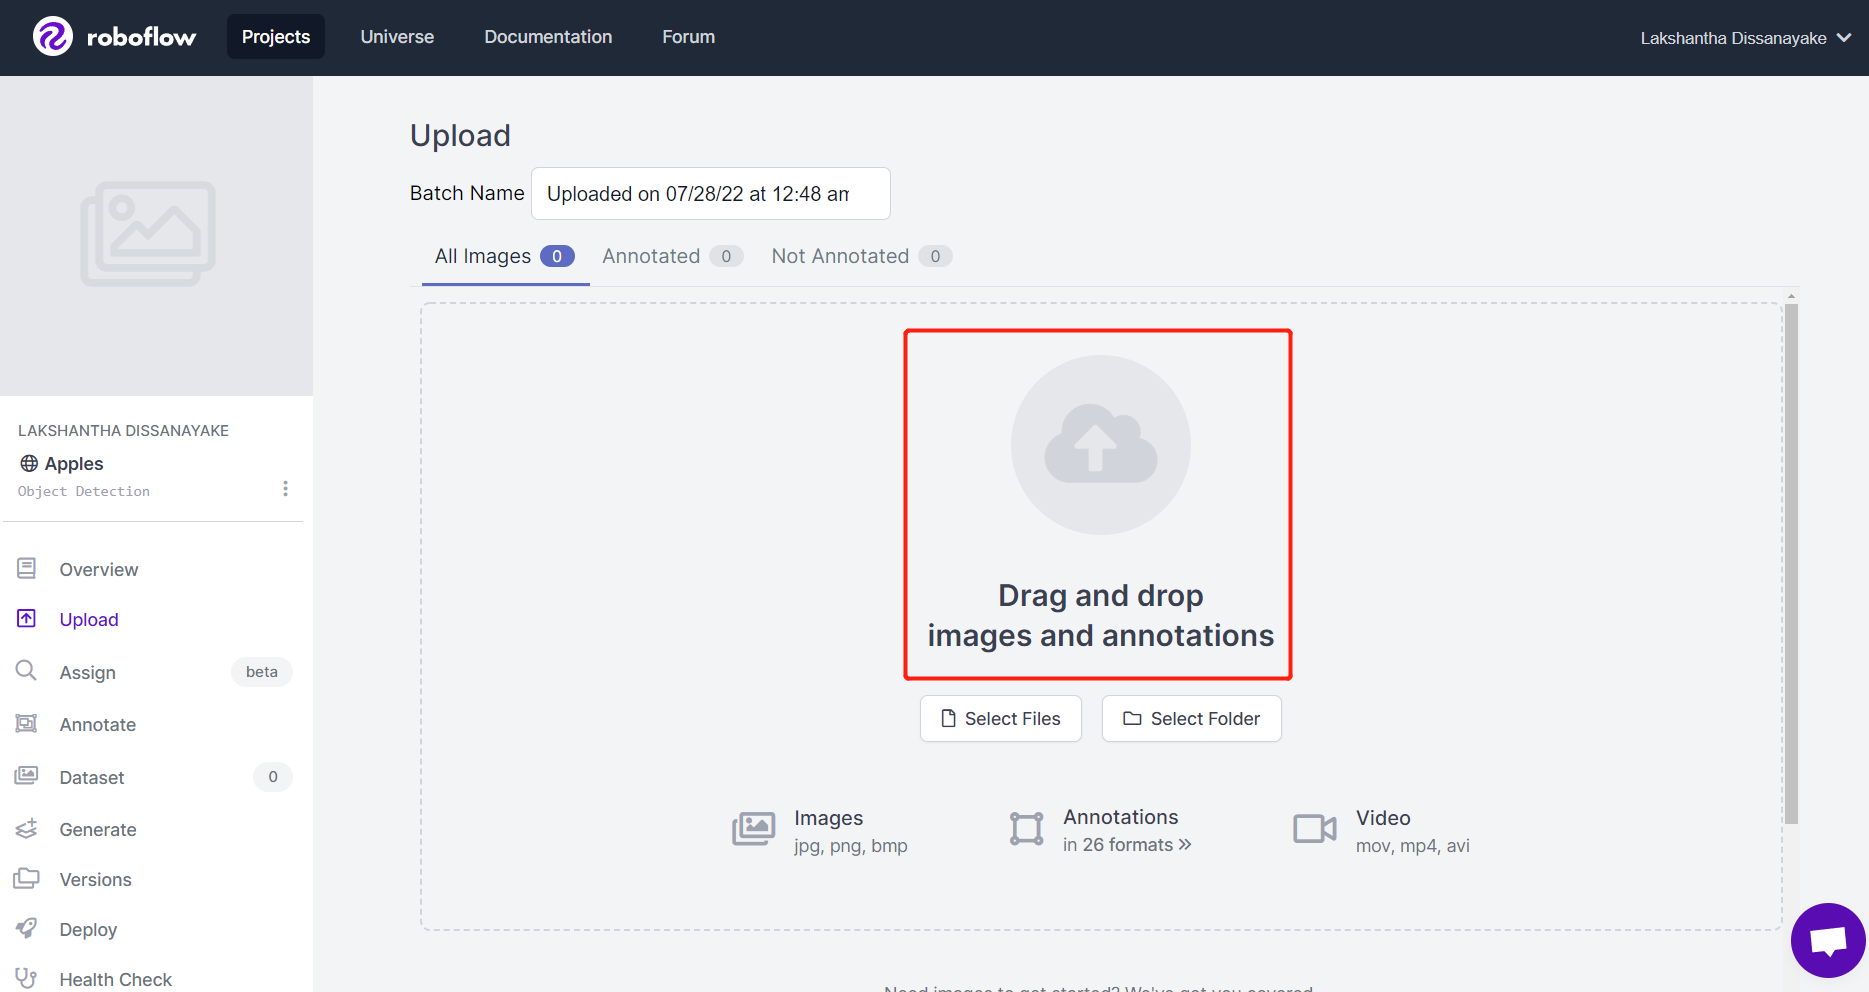
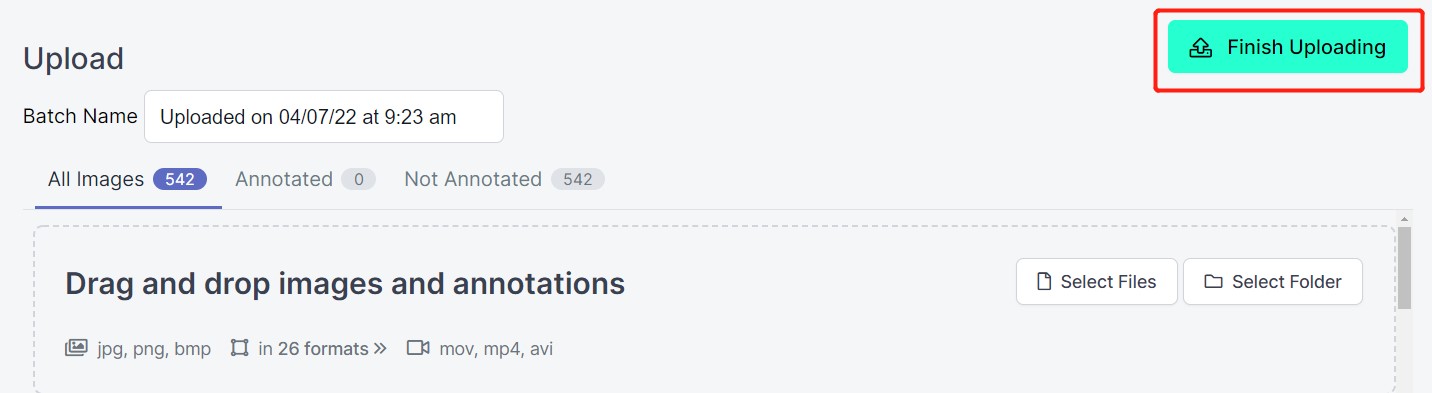
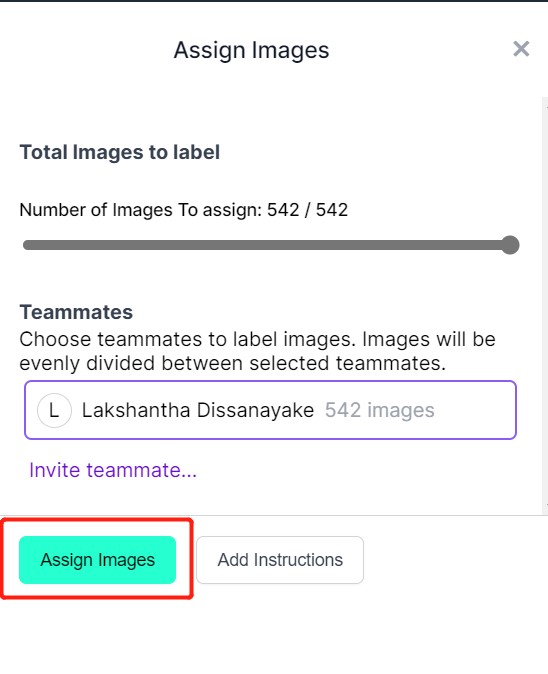
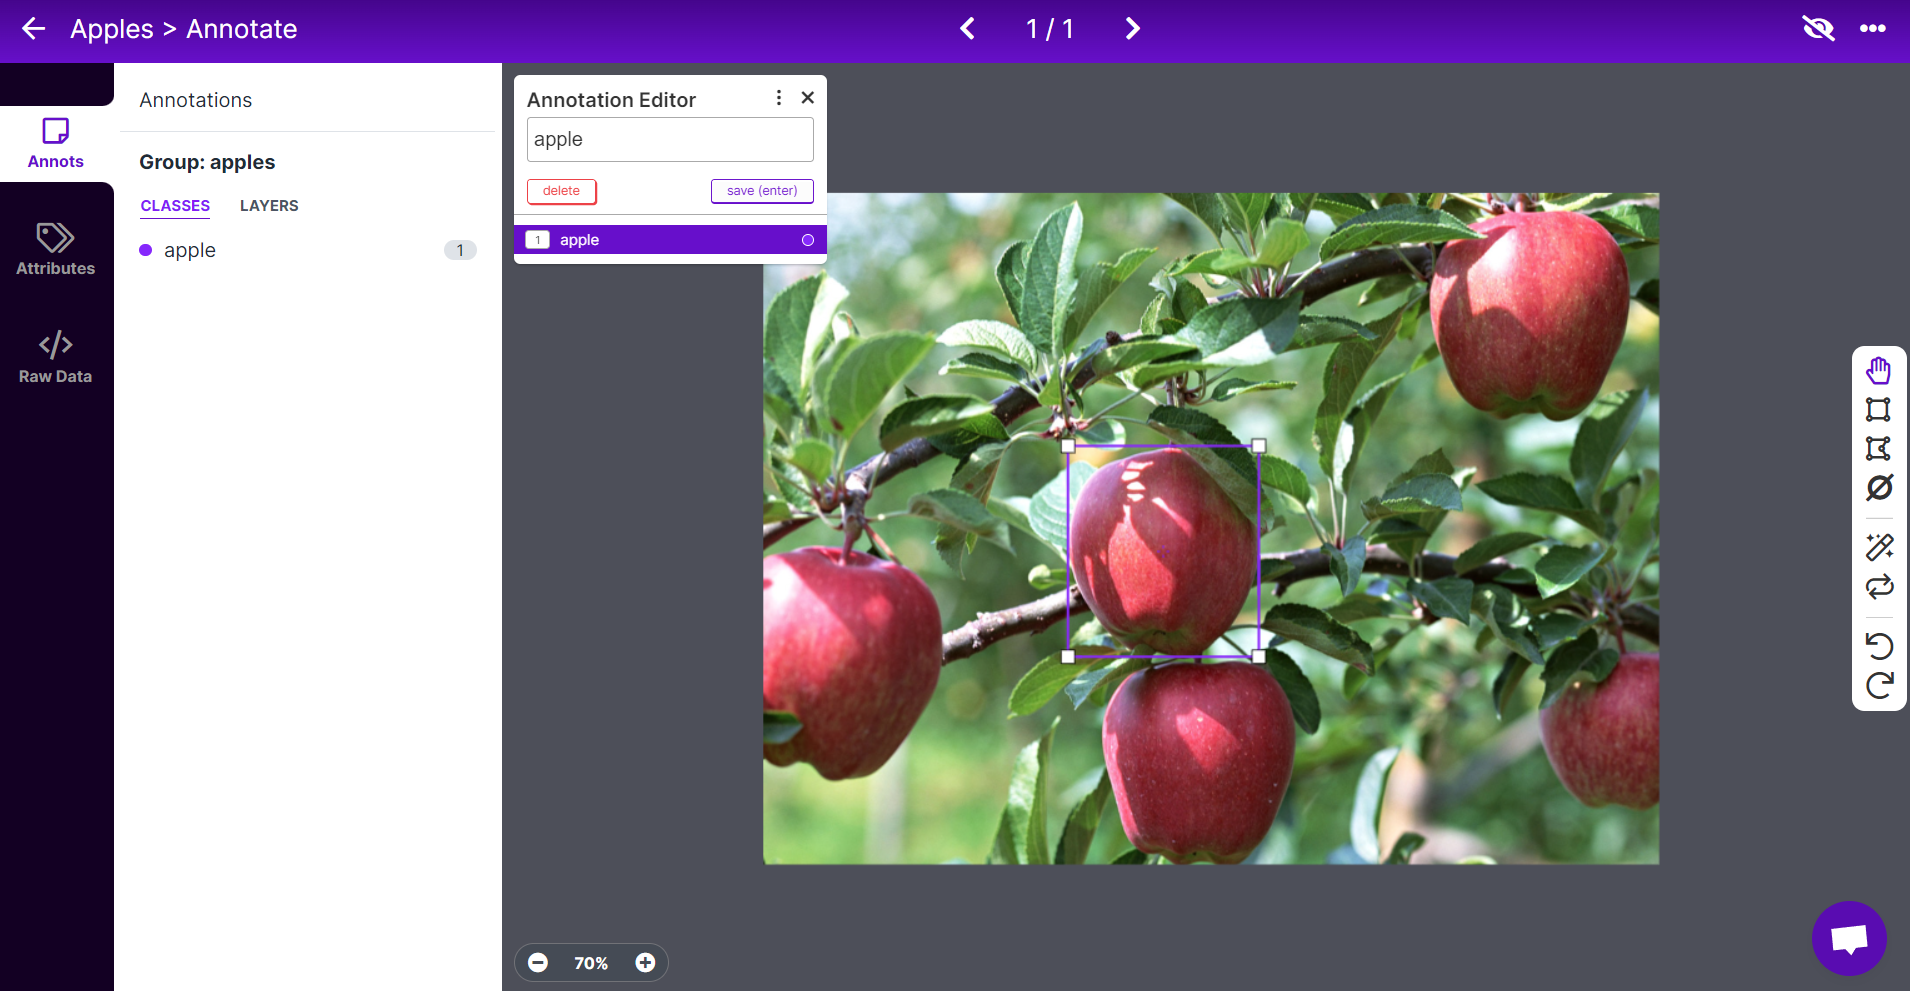
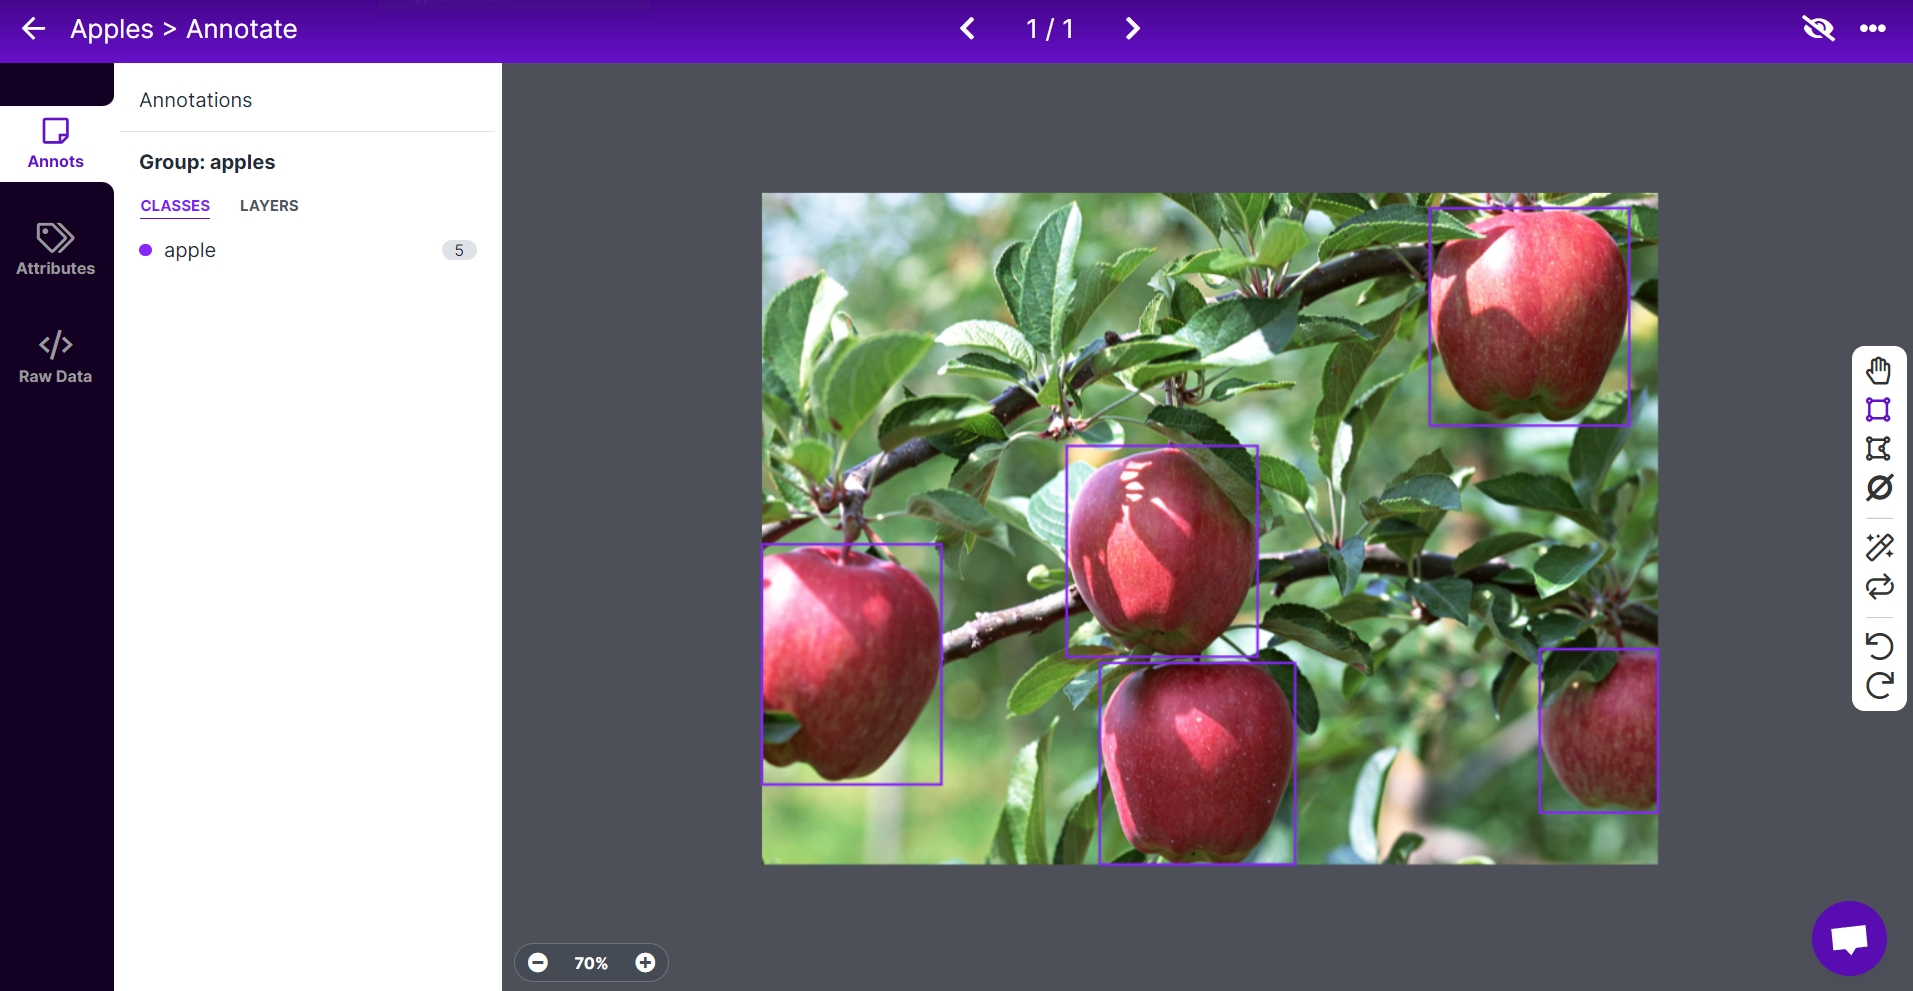
[Roboflow](https://roboflow.com) is an annotation tool based online. This tool allows you to easily annotate all your images, add further processing to these images and export the labeled dataset into different formats such as YOLOV5 PyTorch, Pascal VOC, and more! Roboflow also has public datasets readily available to users.
### What is YOLOv5?
YOLO is an abbreviation for the term ‘You Only Look Once’. It is an algorithm that detects and recognizes various objects in an image in real-time. Ultralytics [YOLOv5](https://ultralytics.com/yolov5) is the version of YOLO based on the PyTorch framework.
### What is TensorFlow Lite?
[TensorFlow Lite](https://www.tensorflow.org/lite) is an open-source, product ready, cross-platform deep learning framework that converts a pre-trained model in TensorFlow to a special format that can be optimized for speed or storage. The special format model can be deployed on edge devices like mobiles using Android or iOS or Linux based embedded devices like Raspberry Pi or Microcontrollers to make the inference at the Edge.
## Wiki structure
This wiki will be divided into three main sections
1. [Train your own AI model with a public dataset](#jump1)
2. [Train your own AI model with your own dataset](#jump2)
3. [Deploy the trained AI model into Grove - Vision AI Module](#jump3)
The first section will be the fastest way to build your own AI model with the least number of steps. The second section will take some time and effort to build your own AI model, but it will be definitely worth the knowledge. The third section about deploying the AI model can be done either after first or second section.
So there are two ways to follow this wiki:
1. Follow [section 1](#jump1) and then [section 3](#jump3) - fast to follow
2. Follow [section 2](#jump2) and then [section 3](#jump3) - slow to follow
However, we encourage to follow the first way at first and then move onto the second way.
## 1. Train your own AI model with a public dataset
The very first step of an object detection project is to obtain data for training. You can either download datasets available publicly or create your own dataset!
But what is the fastest and easiest way to get started with object detection? Well...Using public datasets can save you a lot of time that you would otherwise spend on collecting data by yourself and annotating them. These public datasets are already annotated out-of-the-box, giving you more time to focus on your AI vision applications.
### Hardware preparation
- Grove - Vision AI Module
- USB Type-C cable
- Windows/ Linux/ Mac with internet access
### Software preparation
- No need to prepare additional software
### Use publicly available annotated dataset
You can download a number of publically available datasets such as the [COCO dataset](https://cocodataset.org), [Pascal VOC dataset](http://host.robots.ox.ac.uk/pascal/VOC) and much more. [Roboflow Universe](https://universe.roboflow.com) is a recommended platform which provides a wide-range of datasets and it has [90,000+ datasets with 66+ million images](https://blog.roboflow.com/computer-vision-datasets-and-apis) available for building computer vision models. Also, you can simply search **open-source datasets** on Google and choose from a variety of datasets available.
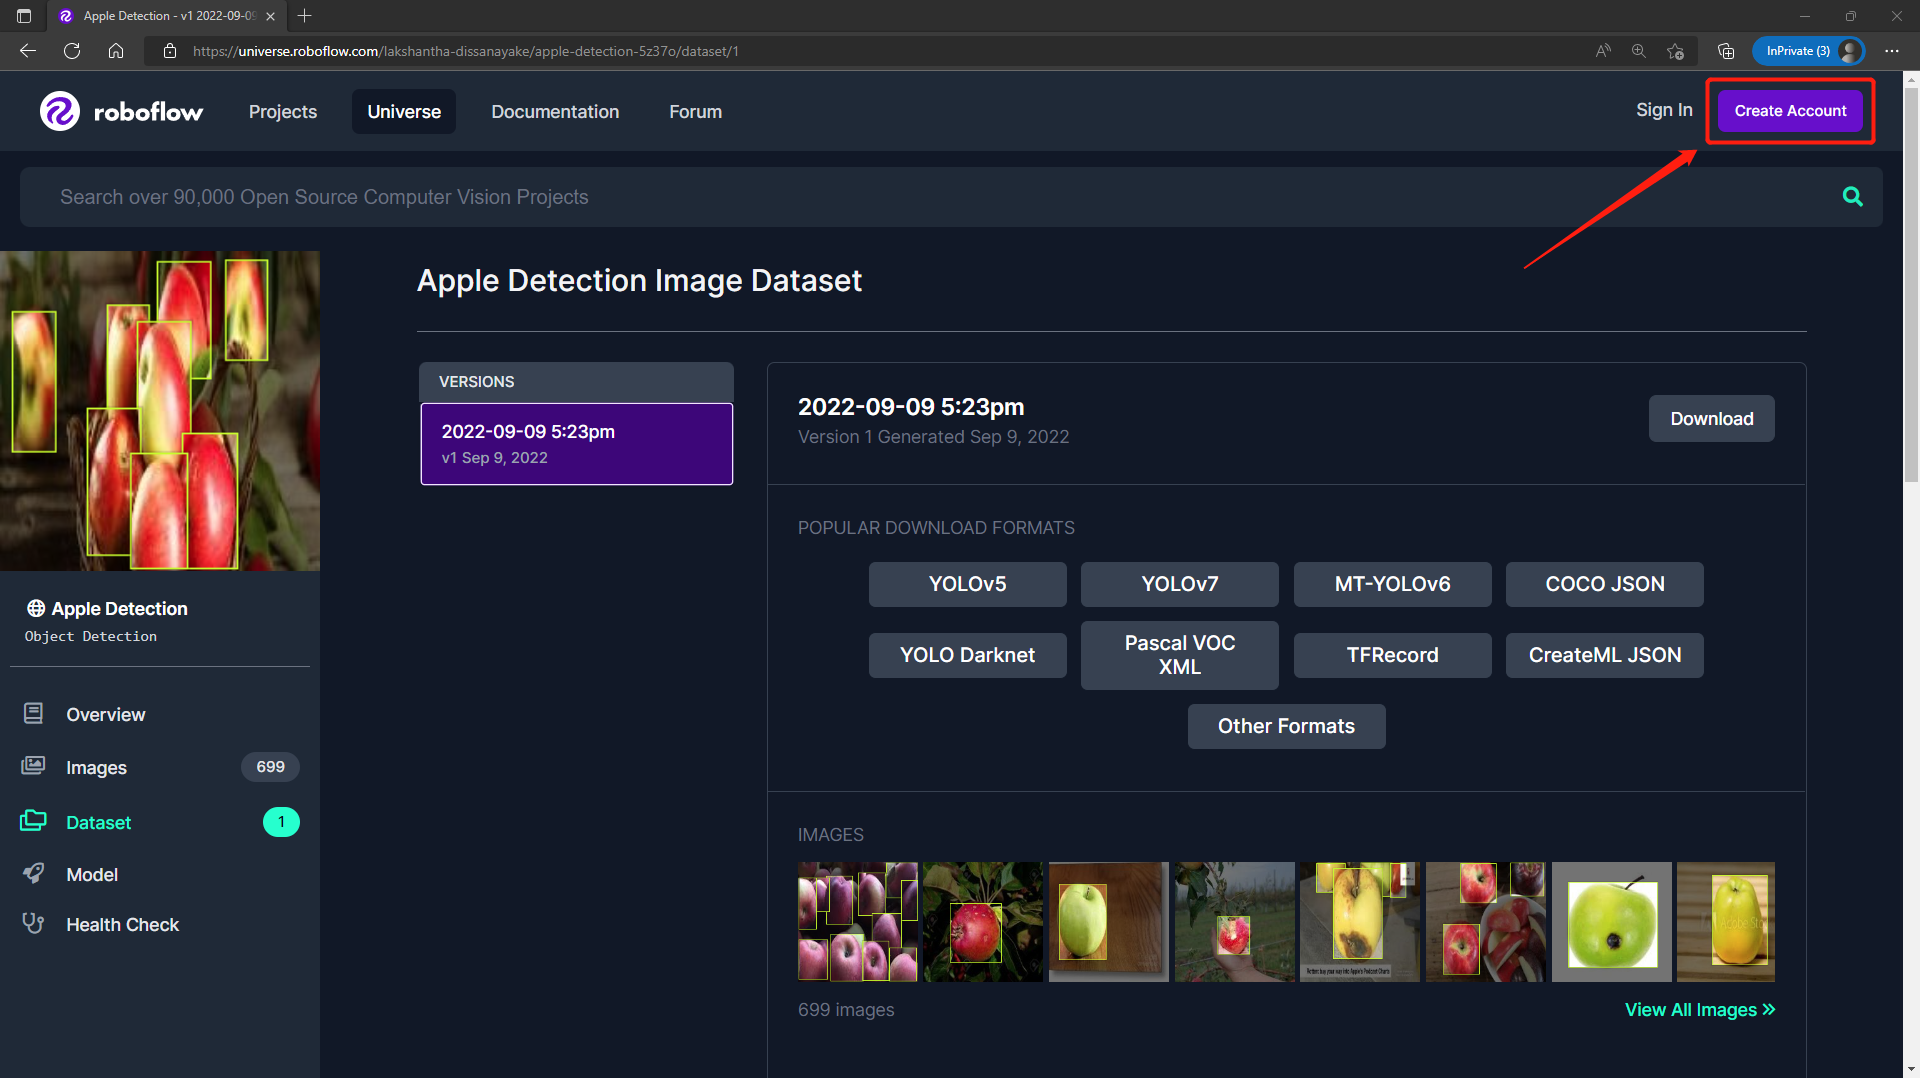
- **Step 1.** Visit [this URL](https://universe.roboflow.com/lakshantha-dissanayake/apple-detection-5z37o/dataset/1) to access an Apple Detection dataset available publicly on Roboflow Universe
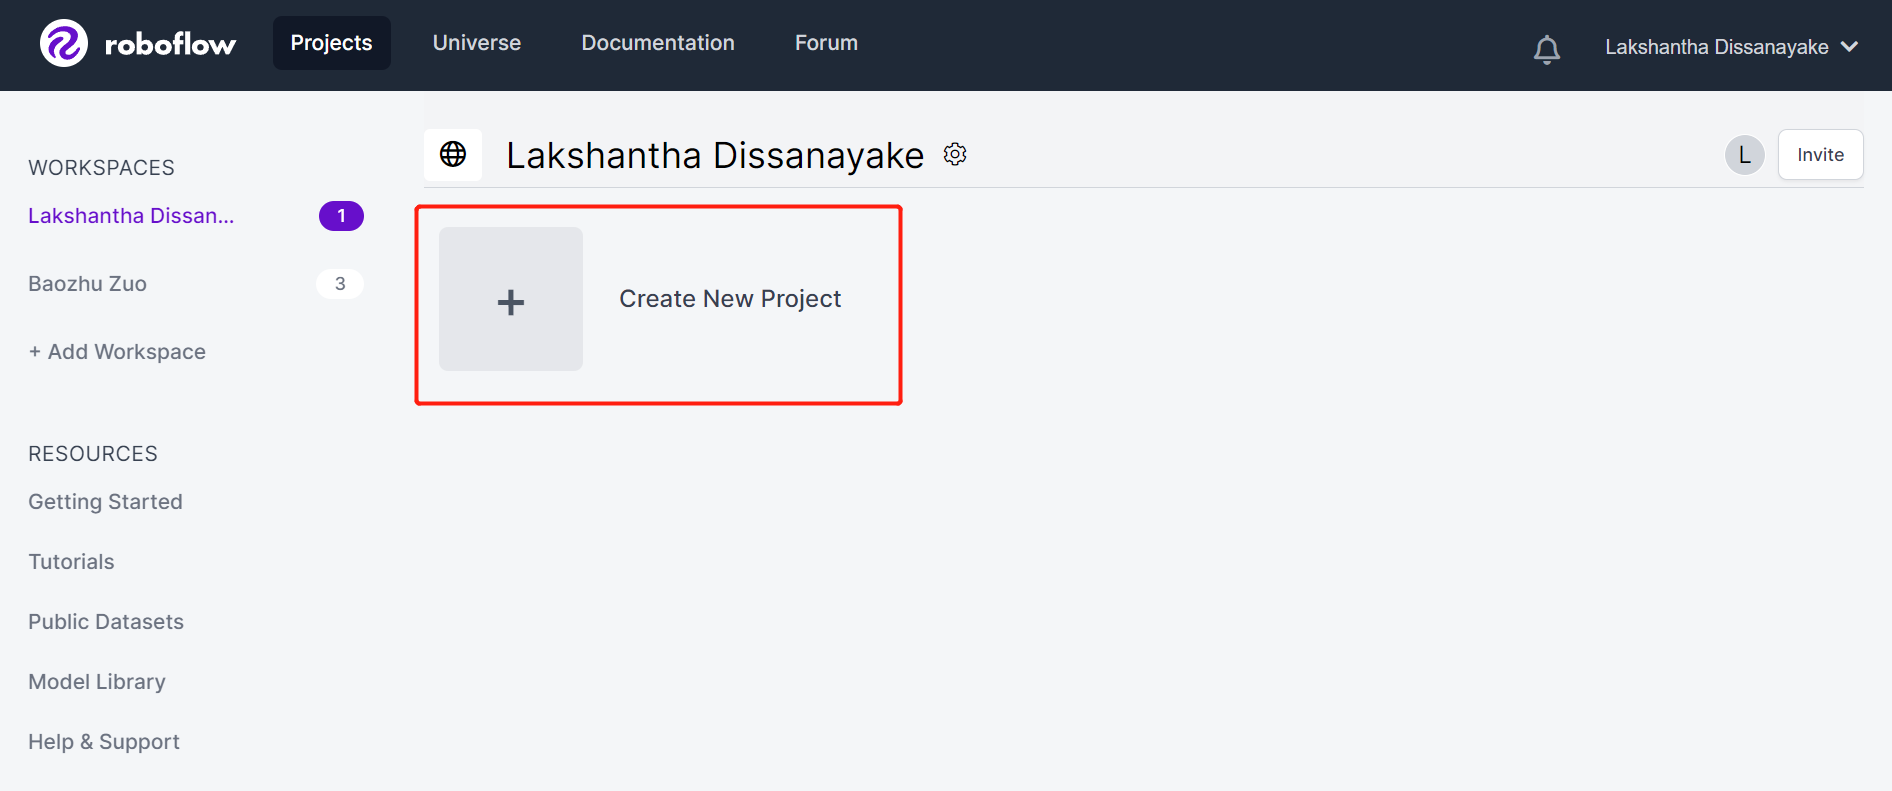
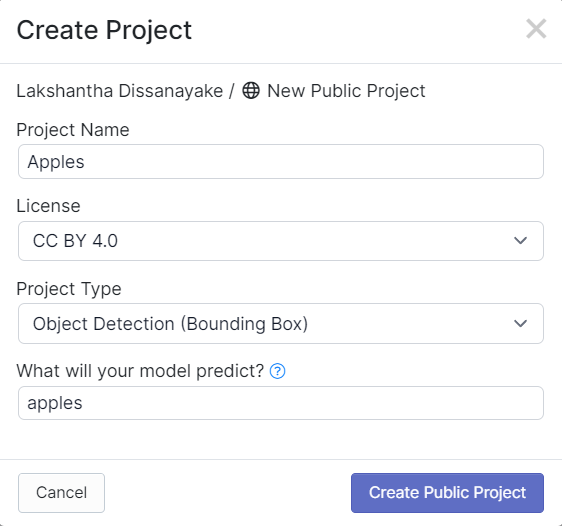
- **Step 2.** Click **Create Account** to create a Roboflow account
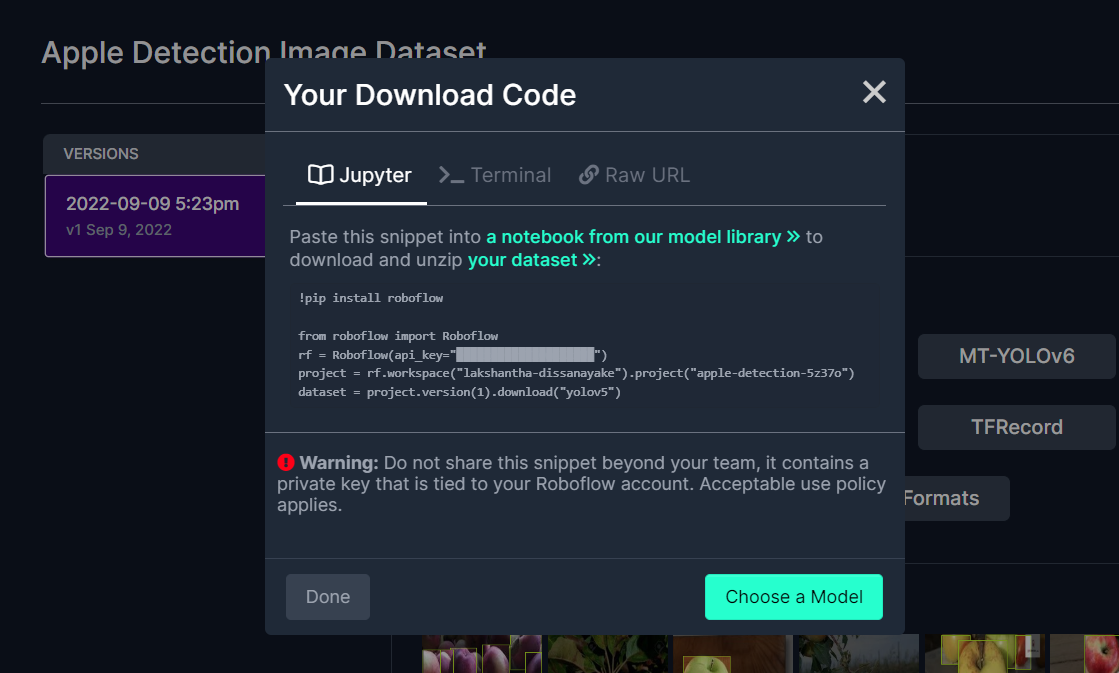
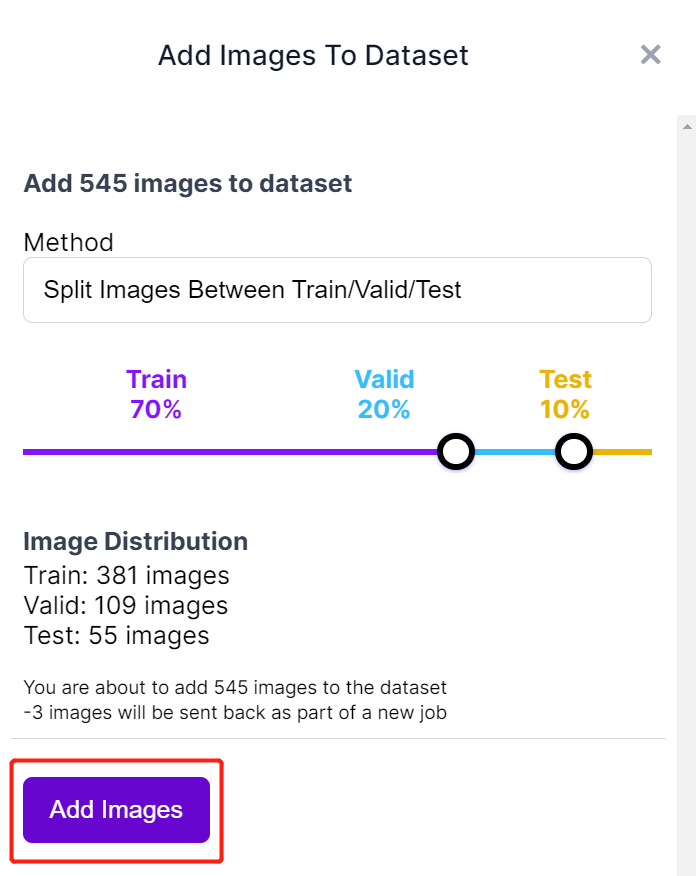
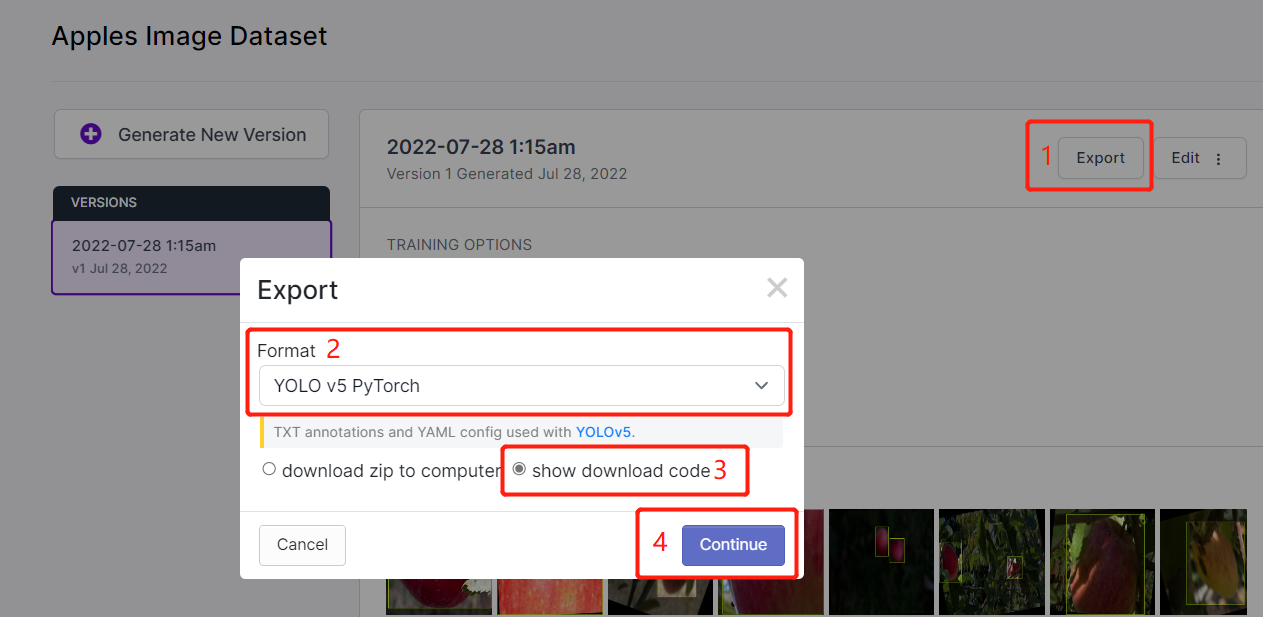
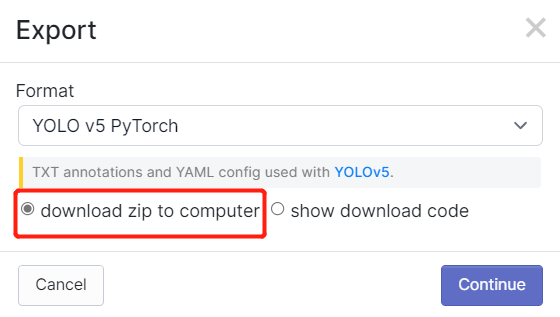
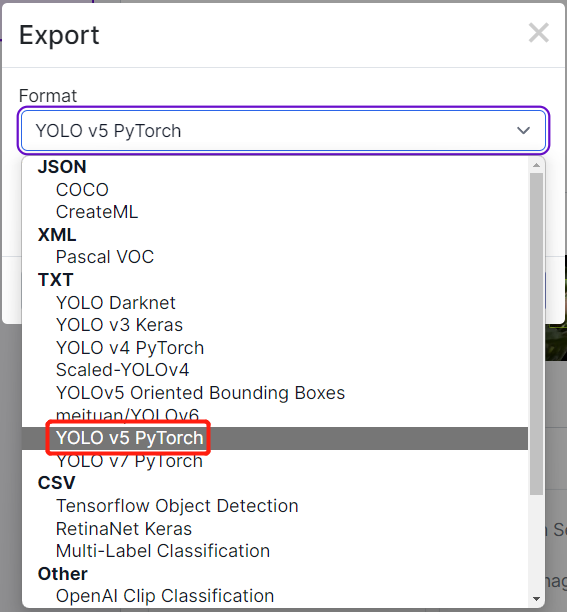
- **Step 3.** Click **Download**, select **YOLO v5 PyTorch** as the **Format**, click **show download code** and click **Continue**
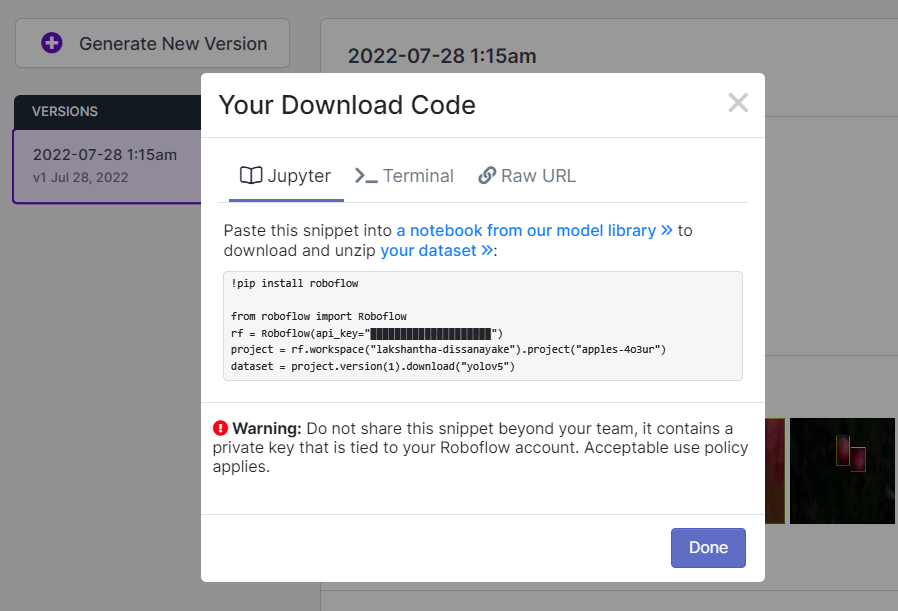
This will generate a code snippet that we will use later inside Google Colab training. So please keep this window open in the background.
### Train using YOLOv5 on Google Colab
After we have chosen a public dataset, we need to train the dataset. Here we use a Google Colaboratory environment to perform training on the cloud. Furthermore, we use Roboflow api within Colab to easily download our dataset.
Click [here](https://colab.research.google.com/gist/lakshanthad/b47a1d1a9b4fac43449948524de7d374/yolov5-training-for-sensecap-a1101.ipynb) to open an already prepared Google Colab workspace, go through the steps mentioned in the workspace and run the code cells one by one.
**Note:** On Google Colab, in the code cell under **Step 4**, you can directly copy the code snippet from Roboflow as mentioned above
It will walkthrough the following:
- Setup an environment for training
- Download a dataset
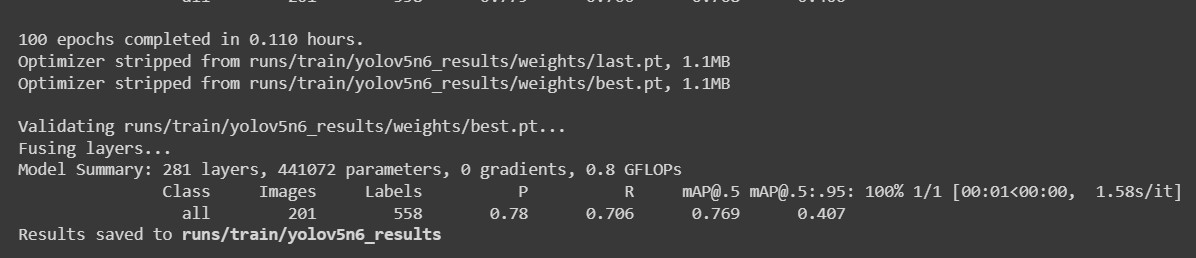
- Perform the training
- Download the trained model
For an apple detection dataset with 699 images, it took around 7 minutes to finish the training process on Google Colab running on NVIDIA Tesla T4 GPU with 16GB GPU memory.
If you followed the above Colab project, you know that you can load 4 models to the device all at once. However, please note that only one model can be loaded at a time. This can be specified by the user and will be explained later in this wiki.
### Deploy and inference
If you directly want to jump to **section 3** which explains how to deploy the trained AI model into Grove - Vision AI Module and perform inference, [click here](#jump3).
## 2. Train your own AI model with your own dataset
If you want to build specific object detection projects where the public datasets do not have the objects that you want to detect, you might want to build your own dataset. When you record data for your own dataset, you have to make sure that you cover all angles (360 degrees) of the object, place the object in different environments, different lighting and different weather conditions. After recording your own dataset, you also have to annotate the images in the datset. All these steps will be convered in this section.
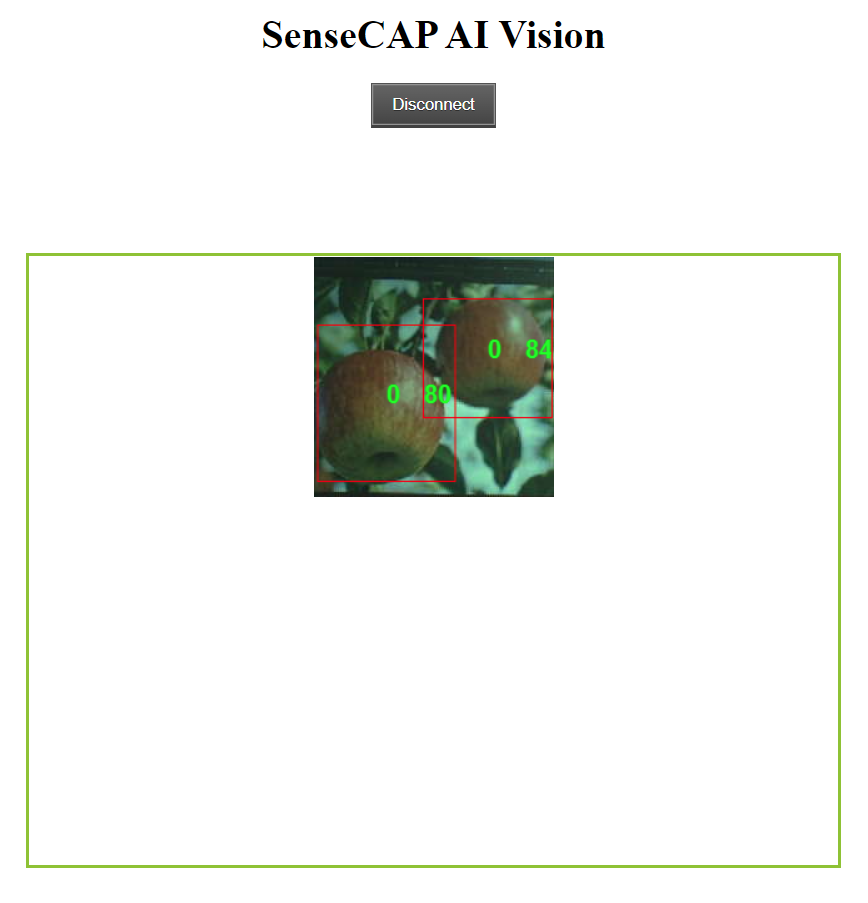
Eventhough there are different methods of collecting data such as using a mobile phone camera, the best way to collect data is to use the in-built camera on the Grove - Vision AI Module. This is because the colors, image quality and other details will be similar when we perform inference on Grove - Vision AI Module which makes the overall detection more accurate.
### Hardware preparation
- Grove - Vision AI Module
- USB Type-C cable
- Windows/ Linux/ Mac with internet access
### Software preparation
Now let's setup the software. The software setup for Windows, Linux and Intel Mac will be same whereas for M1/M2 Mac will be different.
#### Windows, Linux, Intel Mac
- **Step 1.** Make sure Python is already installed on the computer. If not, visit [this page](https://www.python.org/downloads/) to download and install latest version of Python
- **Step 2.** Install the following dependency
```sh
pip3 install libusb1
```
#### M1/ M2 Mac
- **Step 1.** Install Homebrew
```sh
/bin/bash -c "$(curl -fsSL https://raw.githubusercontent.com/Homebrew/install/HEAD/install.sh)"
```
- **Step 2.** Install conda
```sh
brew install conda
```
- **Step 3.** Download libusb
```sh
wget https://conda.anaconda.org/conda-forge/osx-arm64/libusb-1.0.26-h1c322ee_100.tar.bz2
```
- **Step 4.** Install libusb
```sh
conda install libusb-1.0.26-h1c322ee_100.tar.bz2
```
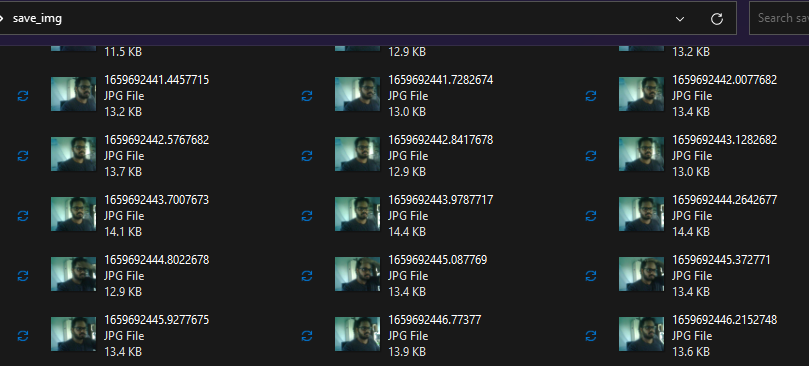
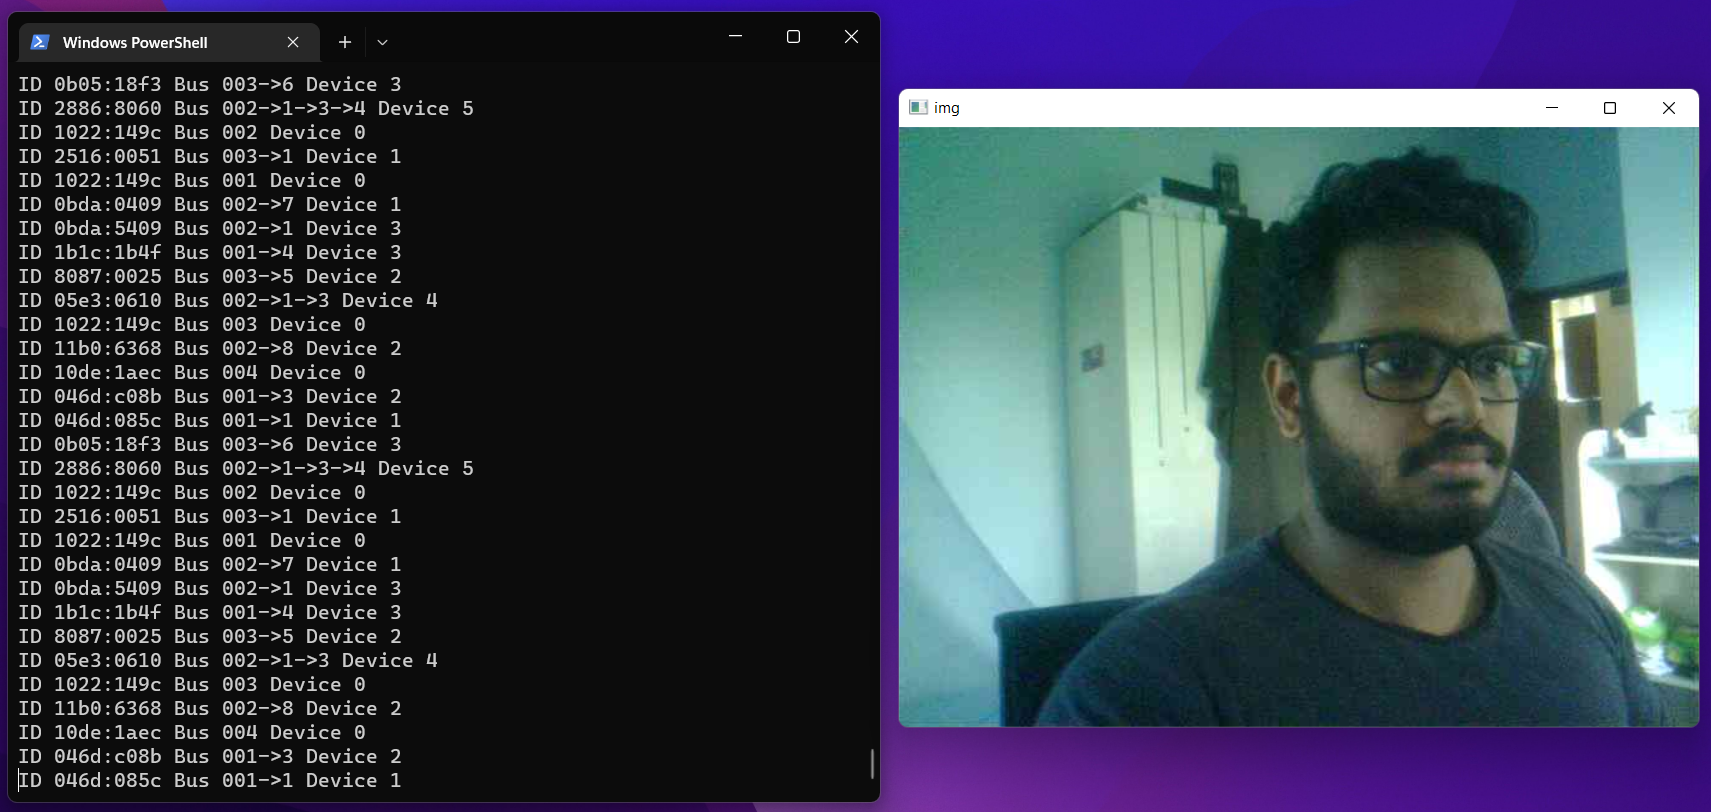
### Collect dataset
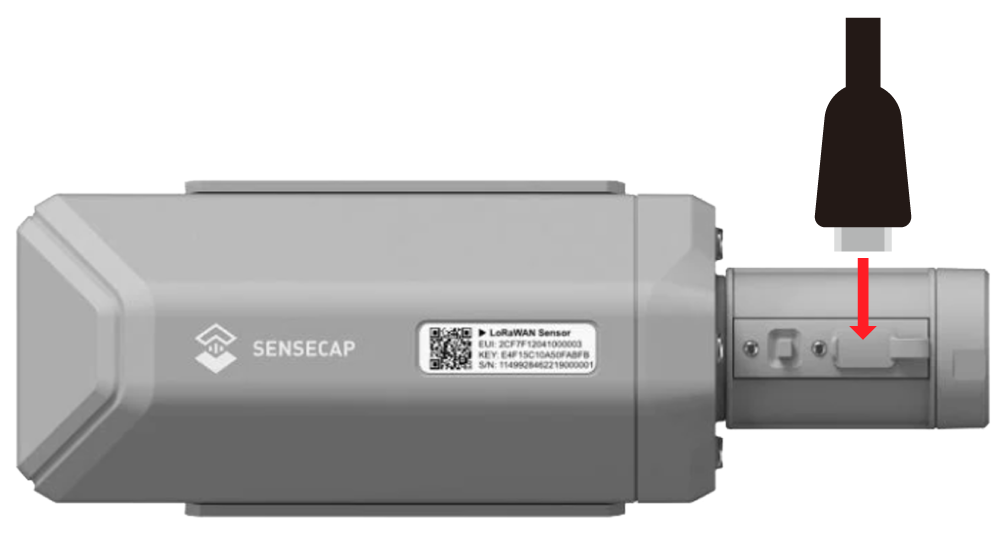
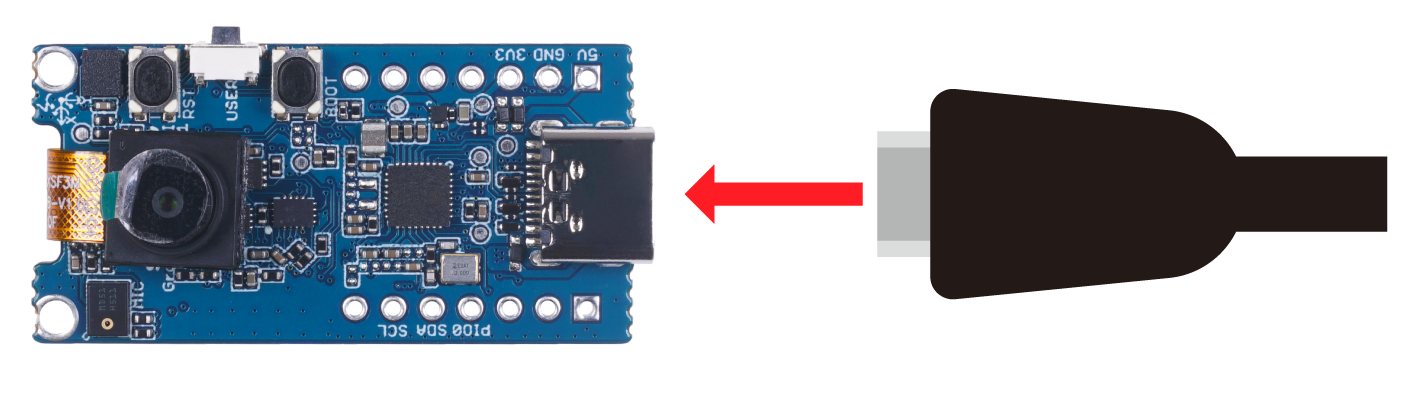
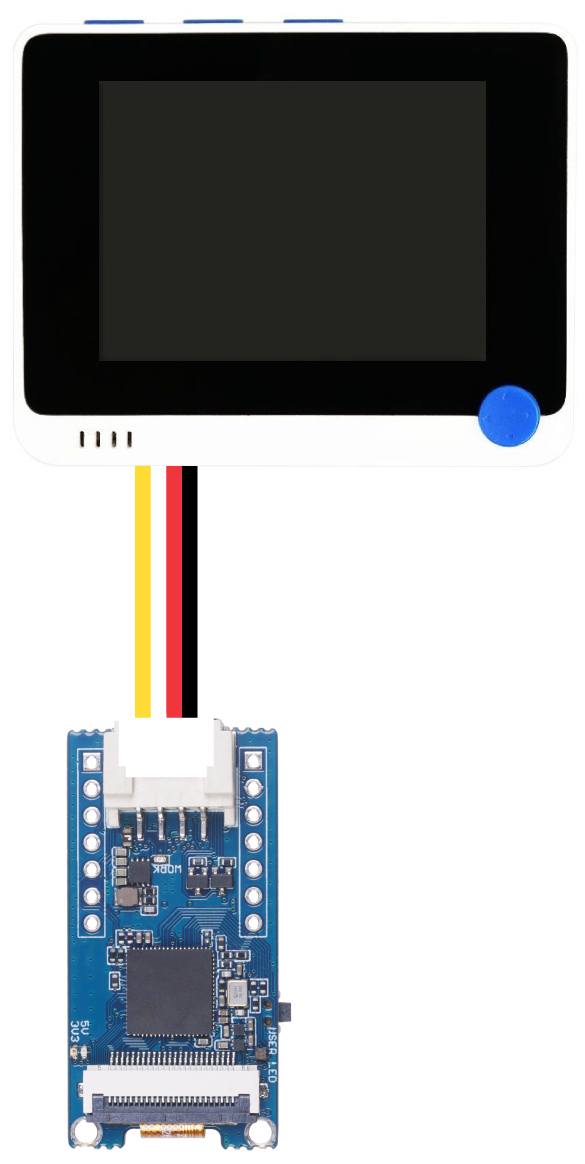
- **Step 1.** Connect Grove - Vision AI Module to PC by using USB Type-C cable